Getting Started
Connect devices to your secure network
This guide will help get you started with Netrinos, a powerful tool that makes your devices accessible from anywhere. Netrinos creates a private, secure network that lets you connect to your devices as if the Internet was your home network.
Before you start, have your Netrinos username and password handy. If you haven't already, you can register for an account on the Netrinos website.
Step 1: Install the Netrinos Software
Each device you wish to add to your network must install the Netrinos Client software. Please download and install the version for your device.
If you are installing Linux, or something else, you can learn more on our Download page.
Step 2: Log in with your Credentials
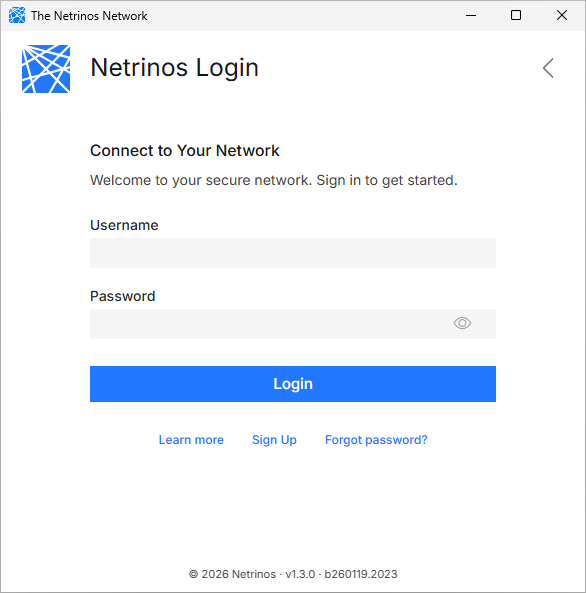
Once installed, log in with your username and password. Use the same username and password for all of your devices. Your username defines your network. All the devices with a particular username will be able to access each other.
Within a minute or two, your devices will sync and be able to see and communicate with each other.
You can bring up the Netrinos software anytime by clicking the Netrinos icon in the system tray (menu bar on the Mac).
Step 3: Rinse and Repeat
To use the Netrinos Network, you will need more than one device connected. Repeat steps one and two for each device you wish to add to your network.
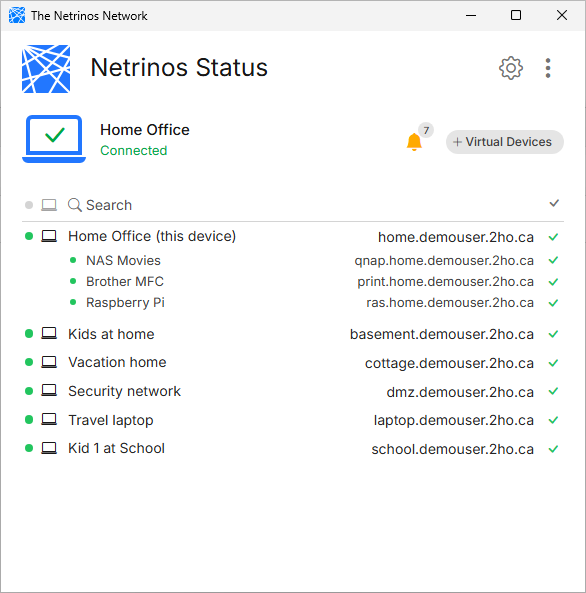
As you install the Netrinos software on your devices, they will automatically appear in your network list, along with their names and connection status.
The default names come from each computer's system name, and you can easily change these in your profile at app.netrinos.com. Each device is automatically given a static IP address and a friendly DNS name.
Devices check in with the Netrinos Network every couple of minutes. The device is offline if you see a time longer than that, or a line is completely greyed out. It could be sleeping, powered off, or without an Internet connection. It will reappear automatically as soon as it's back online.
Accessing your Devices
To access your devices remotely over your encrypted network, refer to it by its secure tunnel name. If the device is powered on and can connect to the Internet, you can access it. Here are just a few examples...
Windows File Sharing
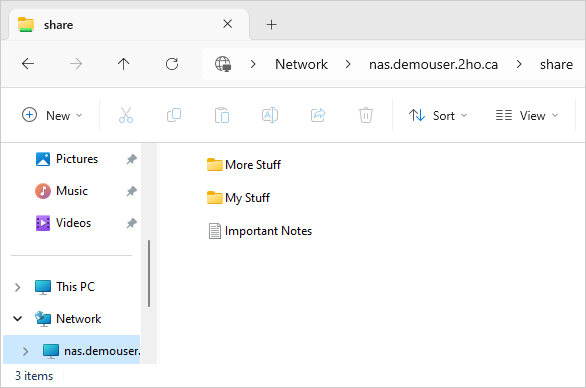
Assuming you have a file server running the Netrinos software, you can access it remotely by referring to its Secure Tunnel Name. Open the Windows File Explorer and use a URI in the form of:
\\servername.youraccount.2ho.ca\ShareName
The Windows Login Dialog will appear and ask for your username and password. This is exactly how you access it over your regular network, except using the secure tunnel name.
Windows Remote Desktop
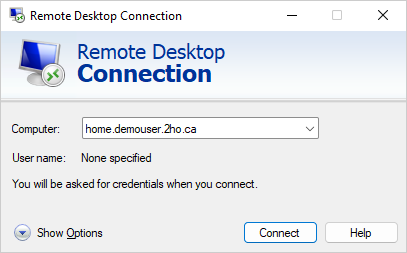
Similarly, if you regularly access Windows Remote Desktop over your regular network, try opening it instead using the secure tunnel name.
pcname.youraccount.2ho.ca
The Login Dialog will appear and ask for your username and password. Again, this is exactly the same as accessing it over your regular network, except with the new name.
Remote Linux Administration
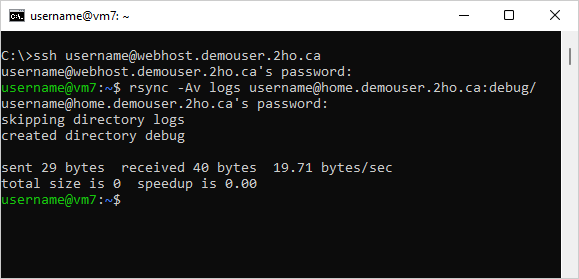
If you work with remote Linux servers, you know the risks of leaving SSH open to the Internet. Install the Netrinos software on your Linux host and then ssh to it over your secure tunnel.
$ ssh username@yourhost.youraccount.2ho.ca
The login process is exactly the same; you can use password or key-based authentication. It works with ssh, scp, rsync, and everything else.
Once you have verified things are working, you can deny SSH access to your host entirely.
Summary
Any program capable of communicating over a network should work fine with Netrinos as long as you specify the secure tunnel name. These examples used Windows, but the process is the same for macOS and Linux.
These examples assume that you have those services working between your computers already. If not, you will find more information and examples in the Netrinos Howtos.