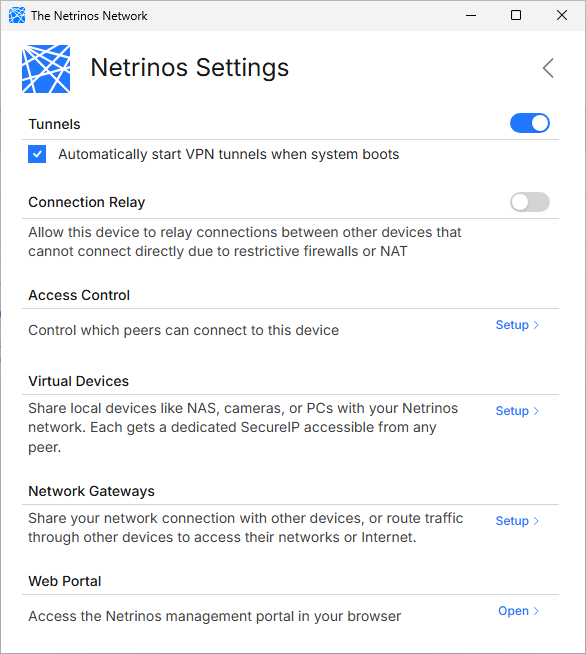
Virtual Devices
Add LAN devices to your mesh without installing Netrinos on them
What Are Virtual Devices?
Virtual Devices let you add network devices like NAS units, printers, cameras, and Raspberry Pis to your Netrinos mesh, even when those devices can't run Netrinos software.
Each virtual device gets a dedicated Secure IP in the 100.64.x.x range, plus a friendly DNS name. Any peer on your mesh can reach the device using either address, regardless of what local network they're on.
Think of it as a mini-DMZ for each device: the device stays on its local network, but becomes accessible to your entire mesh through its Secure IP.
Conflicting Subnets? No Problem
Traditional routing fails when your local network and the remote network use the same IP range. If you're on 192.168.1.x and the remote NAS is also on 192.168.1.x, routing can't tell them apart.
Virtual Devices solve this by giving each device a unique overlay address. The NAS at 192.168.1.100 becomes 100.65.42.18 on your mesh. Your local 192.168.1.x addresses don't conflict because you're connecting to a completely different IP.
This is how service companies manage thousands of customer devices across hundreds of sites, all using conflicting 192.168.1.x addressing.
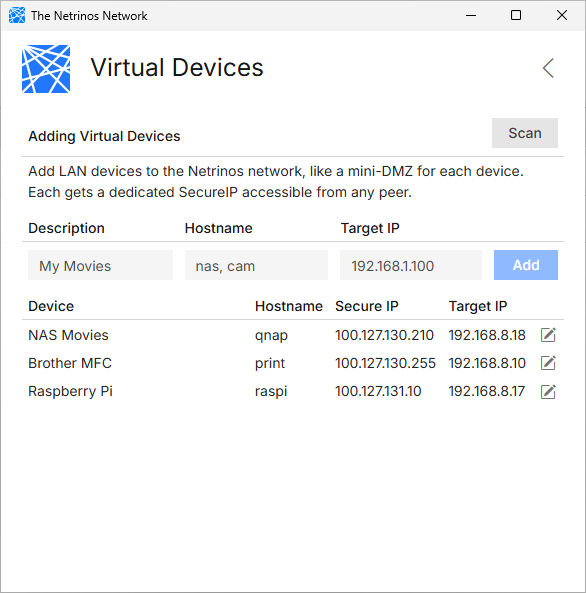
Adding Virtual Devices
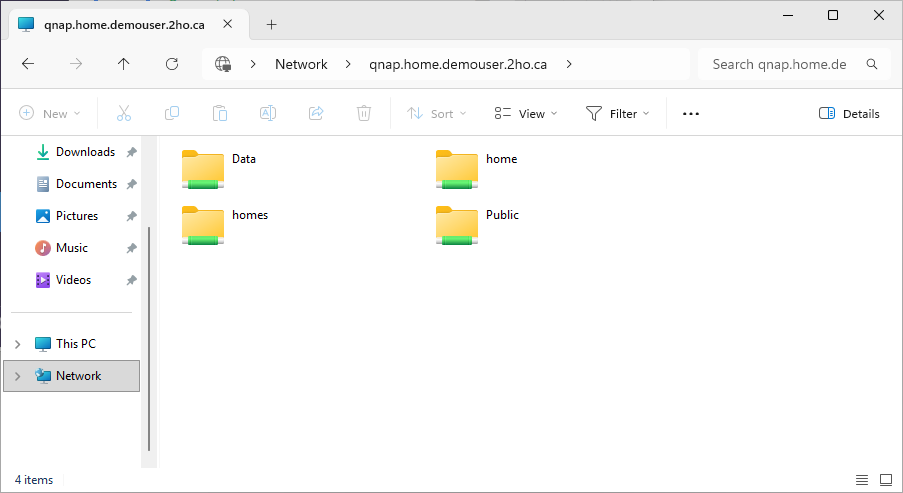
Open the Netrinos app and click Virtual Devices in the sidebar. You can add devices two ways:
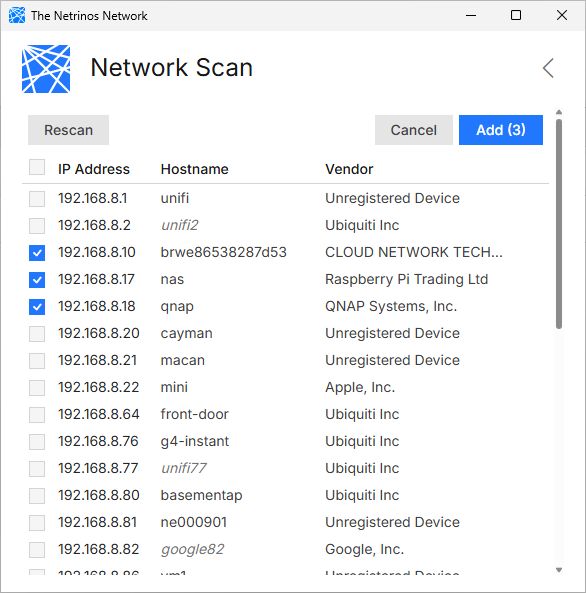
- Network Scan
- Click Scan to discover devices on your local network. Select the devices you want to add and click Add.
- Manual Entry
- Enter a description, hostname, and target IP address directly, then click Add.
Once added, the device appears in your list with its Secure IP. This IP is now accessible from any device on your mesh.
Accessing Virtual Devices
Once a device is added, you can reach it from any peer on your mesh using:
- Secure IP
- Connect directly using the 100.64.x.x address shown in the Virtual Devices list.
- DNS Name
- Use the hostname with your Netrinos domain:
hostname.home.username.2ho.ca
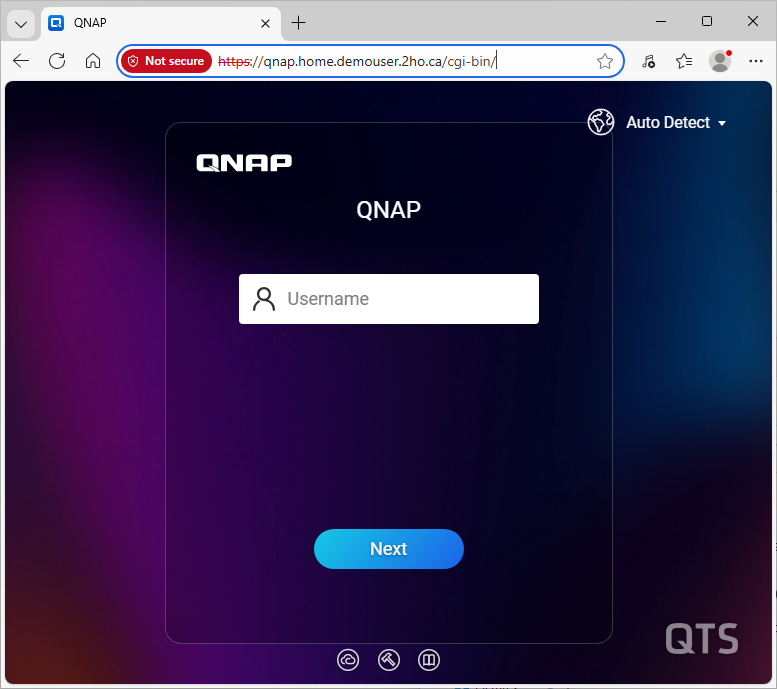
Access works for any protocol: web interfaces, file shares, SSH, RDP, or camera streams. The device doesn't know it's being accessed remotely.
Bidirectional Access
By default, mesh peers connect to virtual devices. But virtual devices can also initiate connections the other way, for example an Xbox streaming from a NAS on the other side of the mesh.
Add one static route to your router so LAN devices can find the Netrinos mesh:
ip route add 100.127.128.0/18 via <gateway LAN IP>
Replace <gateway LAN IP> with the local IP of the device running Netrinos. Most routers have a static route field in their settings.
Once the route is in place, any registered virtual device on that network can reach mesh peers by Secure IP or DNS name. Only registered virtual devices get access, not arbitrary LAN devices.
Example
Site Apc.account.2ho.ca | Site Bmac.account.2ho.ca |
| PC runs Netrinos Xbox is a virtual device | Mac runs Netrinos NAS is a virtual device |
Xbox PC Internet Mac NAS
Requirements
- Personal plan: up to 3 virtual devices. Pro plan: unlimited.
- Network Scan discovers devices on your local subnet. For devices on adjacent networks (e.g., your ISP modem behind your router), add them manually if you know the address.
- Target devices need no configuration changes
Virtual Devices vs Gateways
Use Virtual Devices when networks might have conflicting subnets, or when you want per-device access control.
Use Gateways & Routing when subnets don't conflict and you want to route to an entire subnet at once.